
Hiya Everyone, Thanks for stopping by here on the Inky Impressions Inspirational Blog, I hope you like what my teamies have been showcasing :)
It's my Turn (Joey) to share some Inspiration for you and this month I have a Double Twisted Easel Card Tutorial to share, I hope it is easy enough to follow, It is Picture Heavy :)

You will need
3 - 6x6 card Blanks (cut 1 blank in half, keep one half and discard the other)
1 - 6x12 Card Base

Take one of your card blanks and score a diagonal corner to corner

Do the same with the other side, scoring the opposite corners

This is how they look in front of you

When you sit them on the 6x12 base this is how they will look
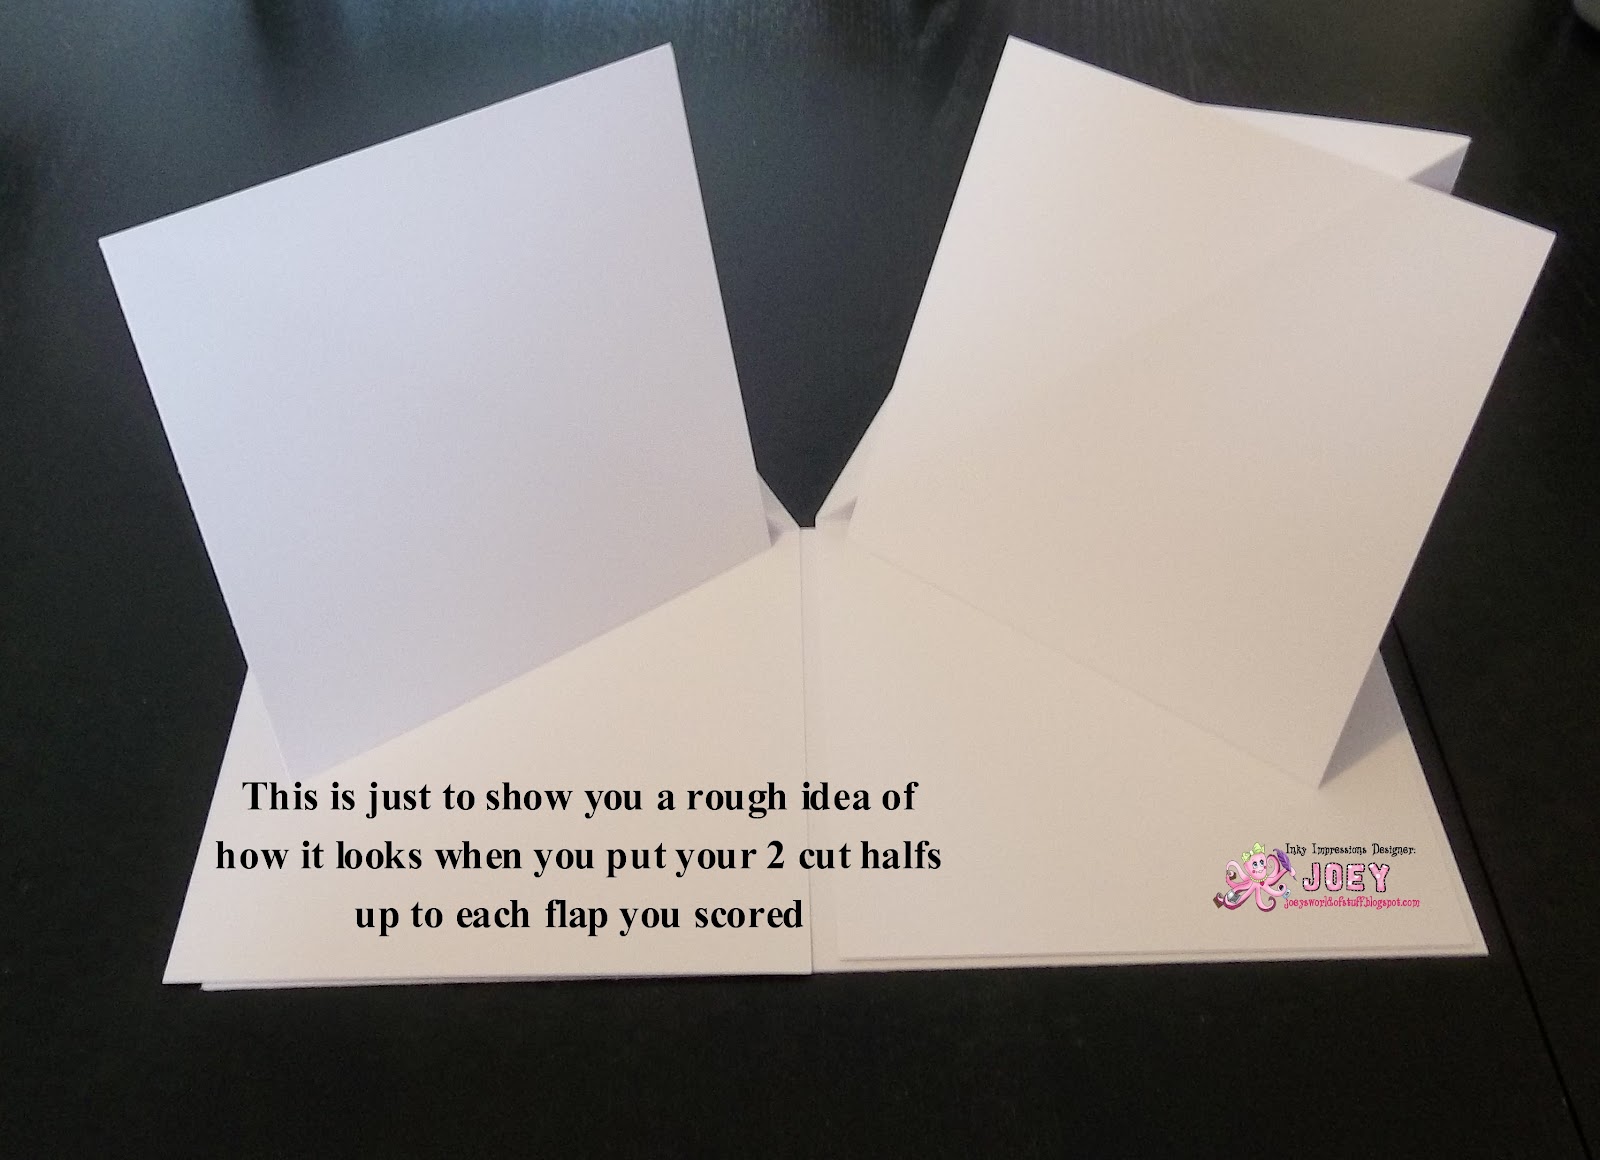
This picture is just to show you a rough idea of how it would look

I wanted to show you my decorated panels before I stuck them down, I always decorate the main parts of my panels before I stick

Glue the whole 6x12 base and the two triangle flaps
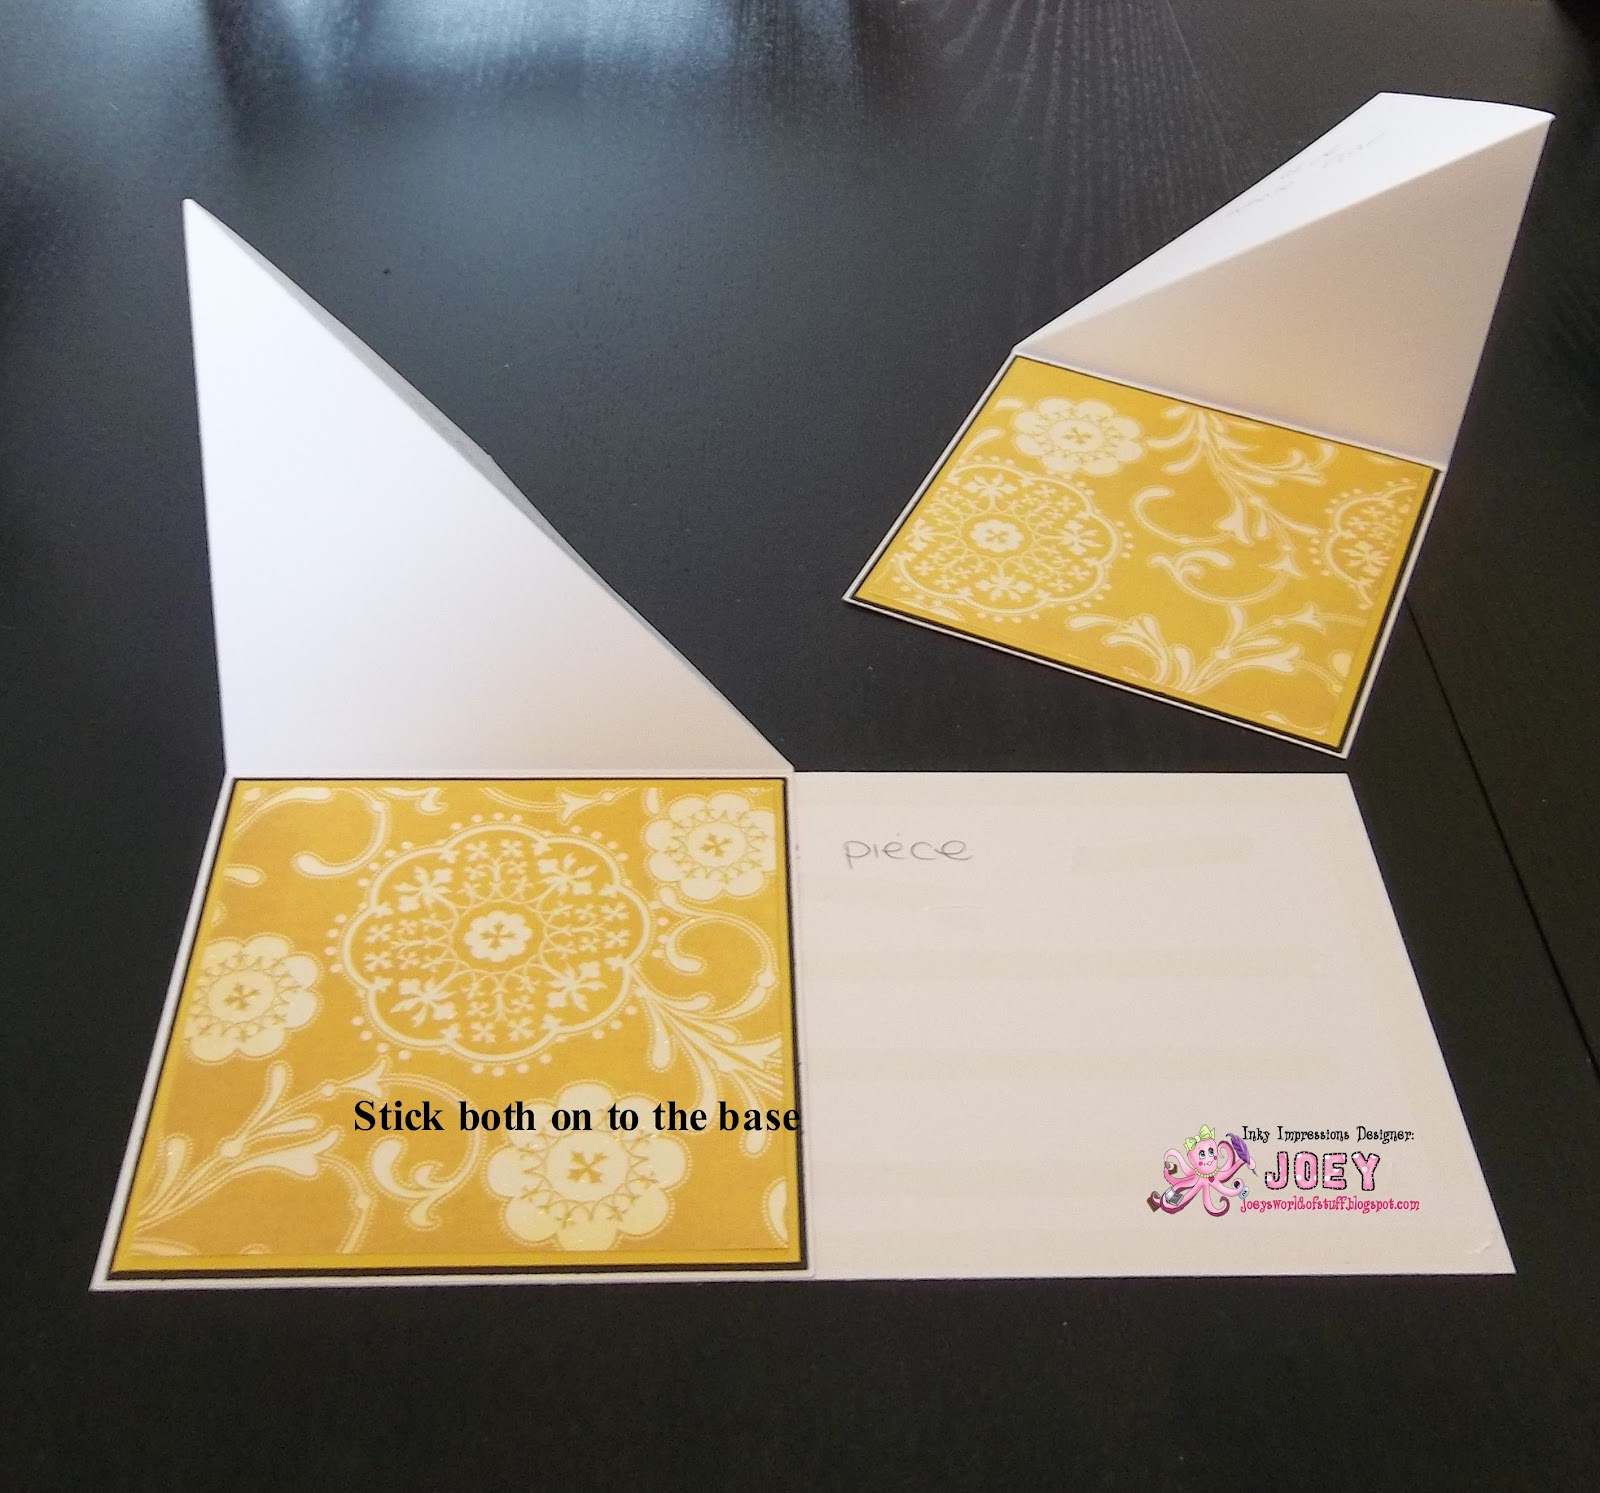
Stick the two cards to the base

It should look like this

Then stick your two panels on to the triangle flaps, remember to stick your card panel up the right way

You have finished assembling it and it is ready to decorate

Nice bold and bright
Some Bunting and lots of space to use many different Inky Stamps :)
All these stamps I coloured with copics, the lettering I cut on my cricut
I used from the Inky Impressions Shop - Fairy Lili, Deputy Christopher, Flower Lili, Nickies Birdie and Lilis Ice Cream.


and a gorgeous Charm, The Inky Impressions Shop has loads do take a look :)
I hope this has inspired you and was easy enough to follow,
Thanks for Stopping By
Joey
x x x
Fab card and great tutorial. Hugs,Moni
ReplyDeleteThank you for this tutorial Joey .I have never made an easle card of any kind , thank you this will be invaluable Hugs Elaine
ReplyDeleteThank you for this tutorial. Your double twisted easel is super gorgeous! Shows of the adorable images very well.
ReplyDeleteMichaela xx
I love the images. they are super cool. Thanks for sharing this tutorial.
ReplyDeletehugs Julie
Wow Joey, this is amazing! I love how you showed us the tutorial in such great detail and then you showed us each image up close. It turned out wonderfully!
ReplyDelete