
Hi Everyone!
Lisa F. Here. Today I have a fun tutorial for you
on how to create a reflection.

I've used
Let's get started:
Step 1:
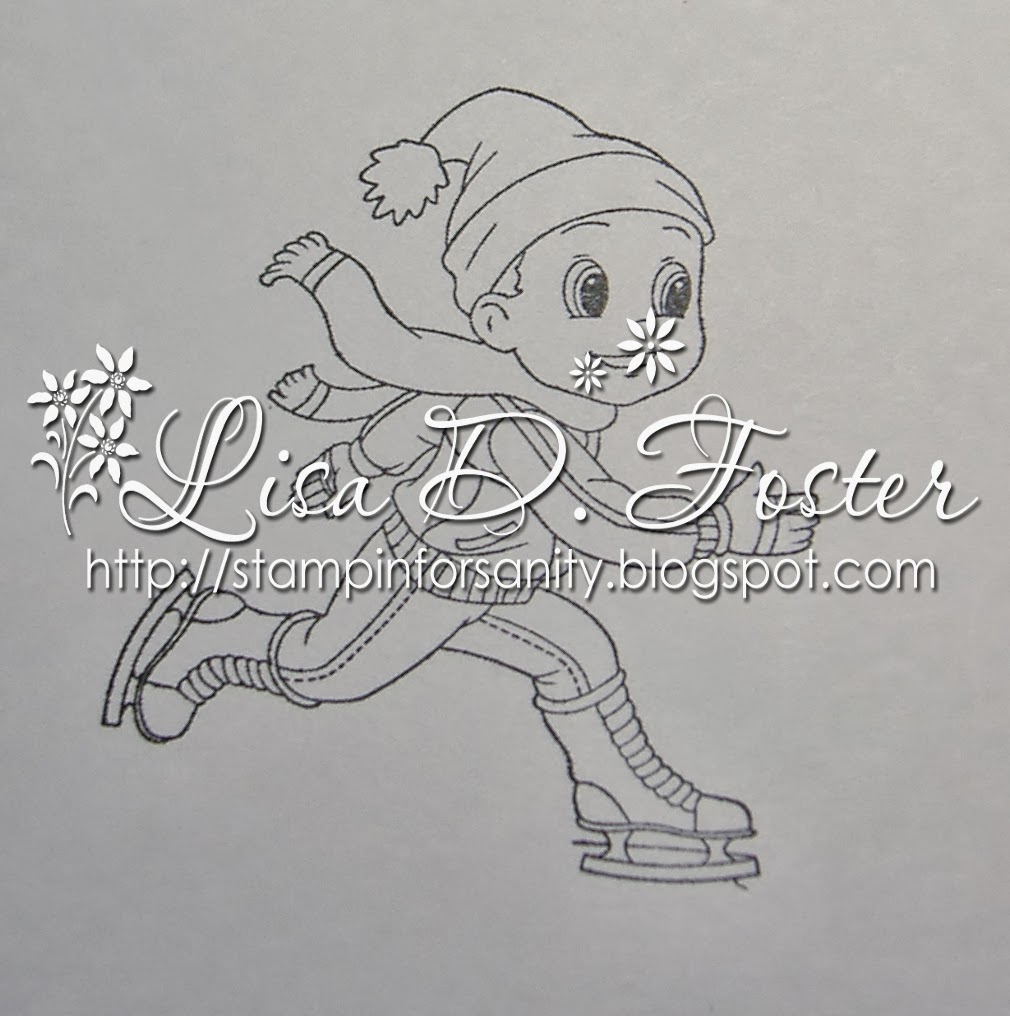
You will need a Stamp, Ink (Memento works best),Scotch Tape, and a sheet of acetate large enough to accommodate your image, card stock and makers (Here I've used Copics)

Step 2:
For this particular project, we don't want the swirls at the bottom of his feet,
so we will use Scotch tape to mask off that part before inking the stamp.

Step 3:
Ink the stamp with the tape in place

Step 4:
Peel the tape from the stamp, and stamp the image onto your card stock.
Step 5:
Repeat the process of inking up the stamp using the
Scotch tape masking method.
Stamp the image onto your piece of acetate.
Then quickly (but carefully) line up the bottom
of the two stamps as shown.

Step 6:
Carefully remove the acetate piece. Your image should now look like
this:

Step 7:
Color your top image as desired, When you color the
bottom image or reflection,
choose lighter colors
and blend outside of the lines (so it looks smeary).
A Blender Pen will also help.

Step 8:
Here I've added some glitter to create the look of
snow around the iced pond.

Step Nine:
Finish your card.

Notice that cute little Snowflake charm?
Those are available at
Inky Impressions too!
Hope you have fun trying out the cool technique! Be sure to tune in later today for more fabulous inspiration!
Crafty Hugs,
Lisa
This is a great tutorial. I will try it Lisa
ReplyDeleteLove it, this is something I have never tried
ReplyDeleteThanks Lisa, this is such a cool thing to do. Cannot wait to try it.
ReplyDeleteGreat tutorial!!! TFS!
ReplyDeleteA gorgeous card, such a clever ideas, thanks for sharing
ReplyDeletehugs Vicky xx