Hi everyone,
Sandie here and I'd like to share with you how I do milk carton treat holders.
Supplies needed are -
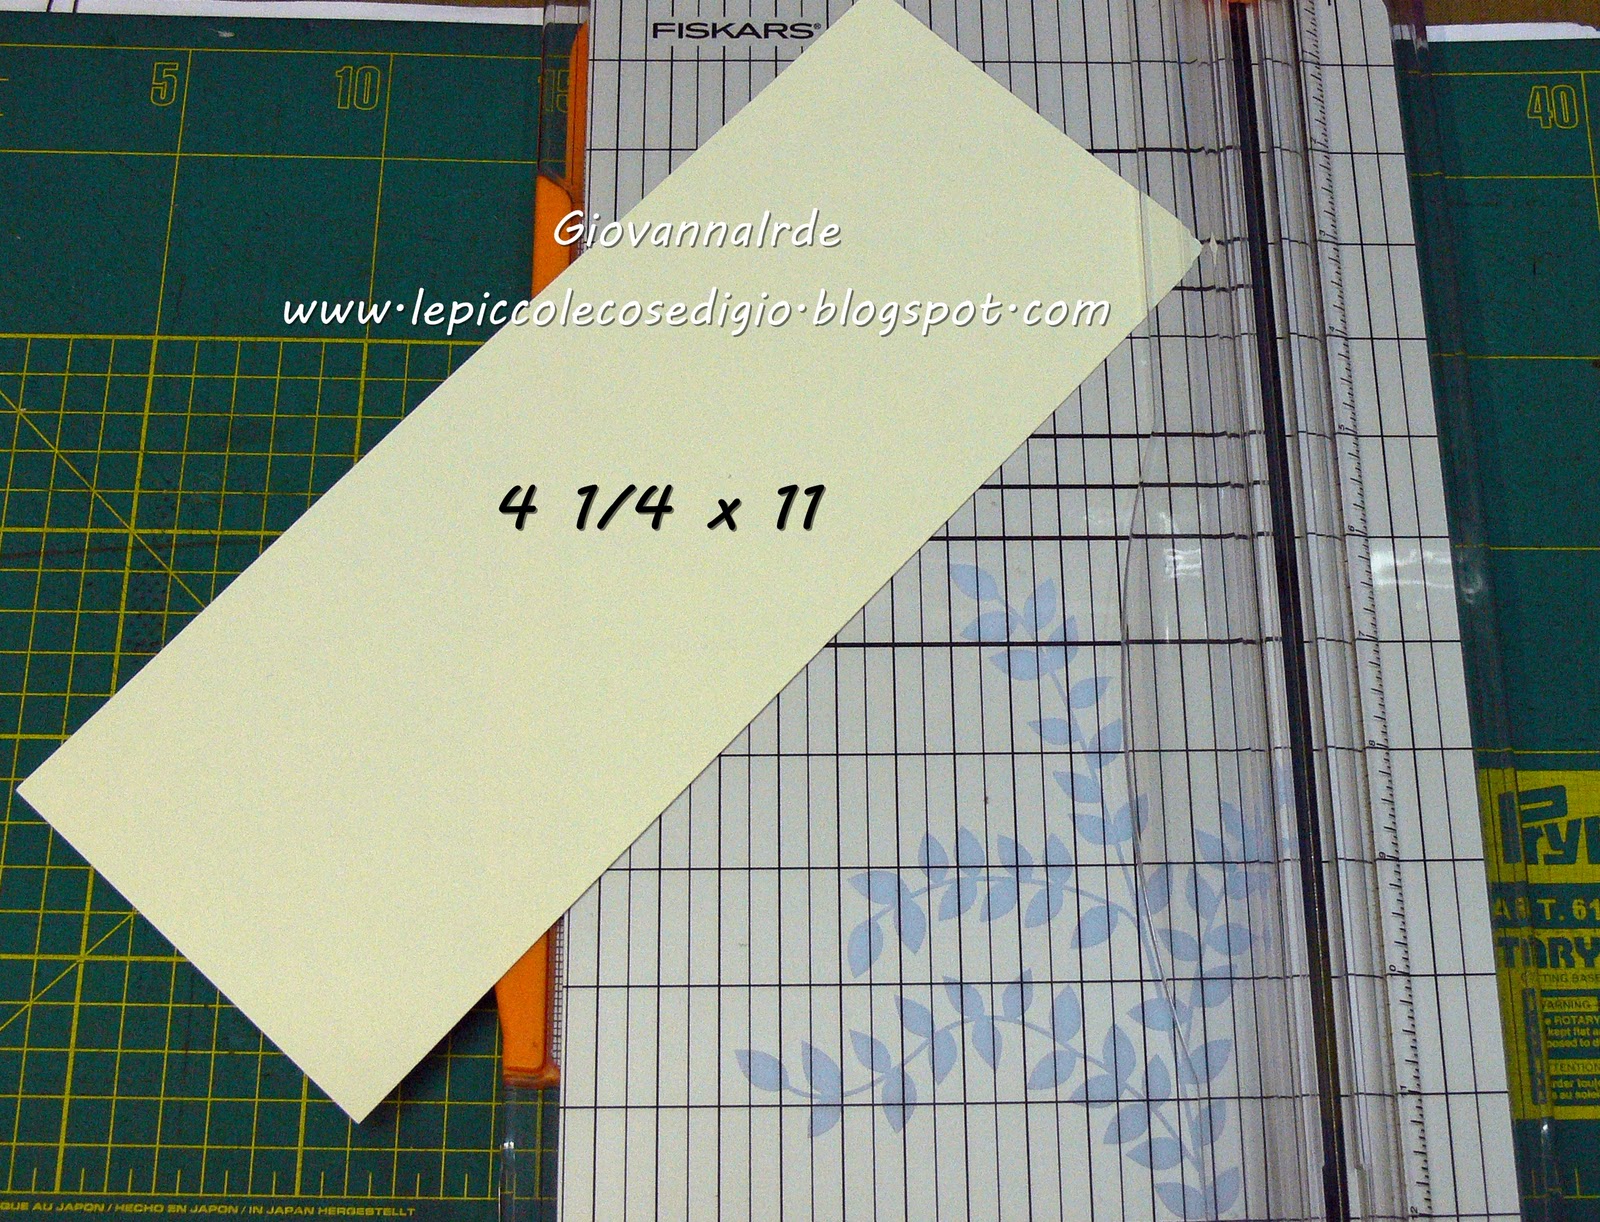
1 piece of 8.5" x 5.5" cardstock
1 piece of 2 3/8" x 1" piece of patterned papers
Cropodile or hole punch
Double side tape or other adhesive
Craft knife
Embellishments of your own choosing
Taking the 5.5" x 8.5" piece of card, score it at 2 1/2", 4 1/8", 6 3/8" & 8 1/4" on the longest side
Turn the card around and score at 1", 3 3/4" & 5"
Cut along the red lines and remove the smallest piece on the edge as shown
Fold all the scorelines using a bone folder to give them more definition. Then add double sided tape, or other adhesive, along the outside of the thinnest strip of card on the end. *Do not assemble the bottom of the box yet*
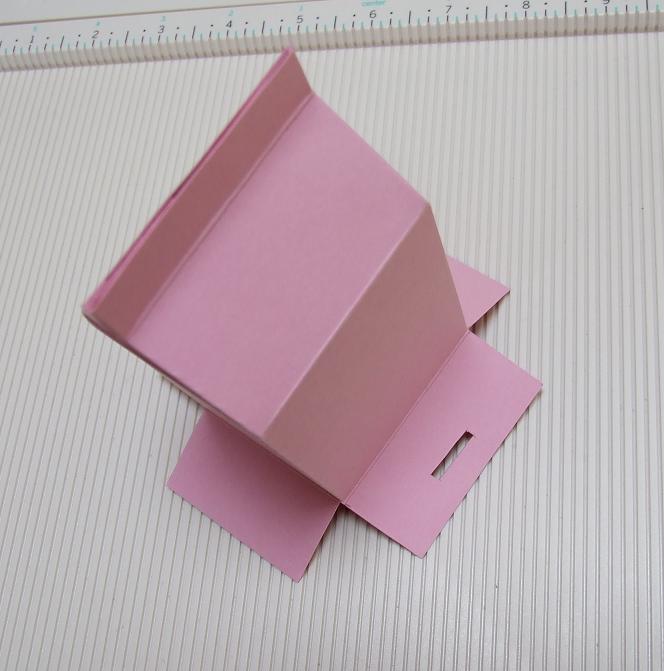
Once you have the side of the box adhered together, squish the top of the box together to form an milk carton shape and add double sided tape, or other adhesive, on one side
Taking a craft knife or slot punch, make a slit on either the front or back flaps at the bottom of the box. I doesn't matter which one, just make sure it's the front or back and not a side flap.
Punch or make a small tag and adhere it to the INSIDE of the opposite flap, ensuring you leave enough length to close the box.
This is how it should look
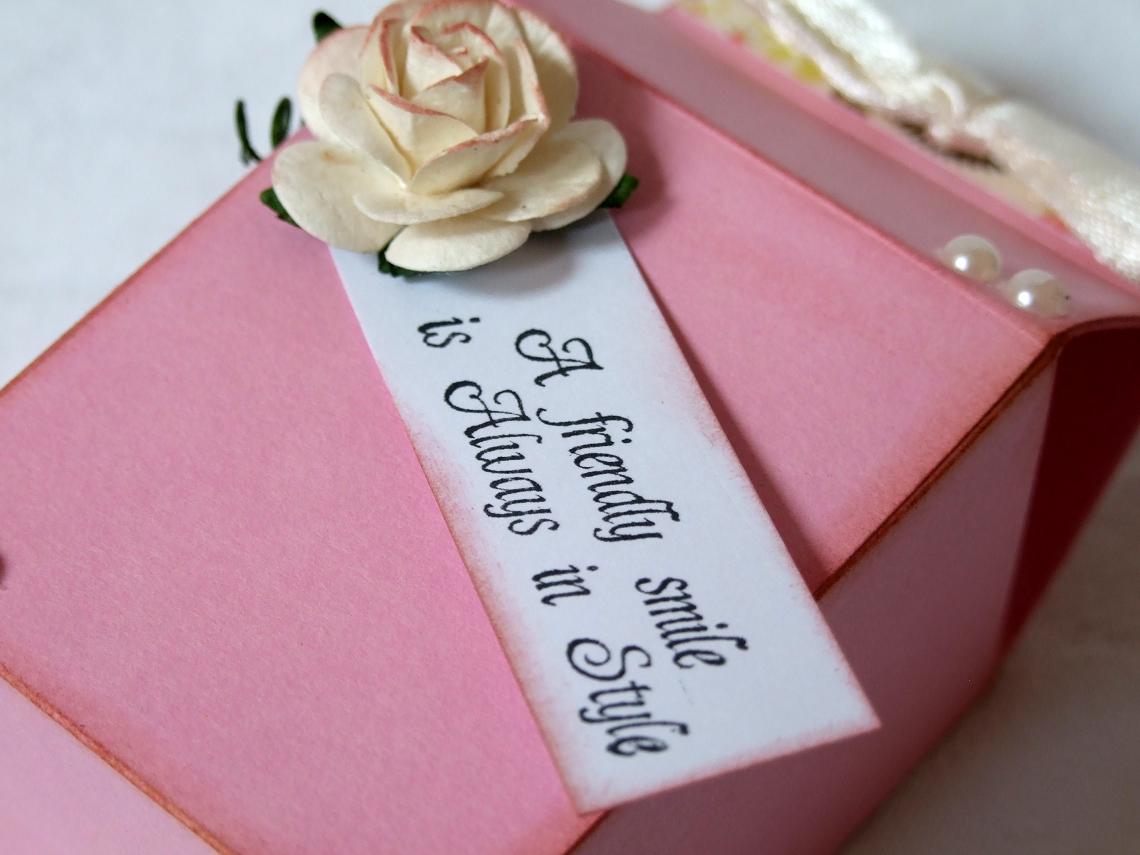
Take the 2 3/8" x 1" piece of patterned paper/card and fold it evenly over the top of the box, covering the closures. Then using a hole punch or cropadile punch 2 holes.
Thread ribbon through and make a bow. Stamp sentiment and embellish the box to your own taste. Finally - fill with treats!! :)
I hope you enjoyed the tutorial. Thanks for dropping by!
Sandie