Hi there, it's Joanna here to hopefully inspire you with my project. I was so late sending out Christmas cards; I am determined to be ready for Valentine's day. I'm going to show you the cute little boxes that I made for my sons' teachers.

Here are some of the supplies that you will need:
Paper Cutter with scoring tool/ScissorsPaper:
(1) piece 6 5/8" x 11" piece of cardstock
(1) piece 4 1/4" cardstock square
(4) pieces of Designer Paper
measuring 2 1/2" x 3 7/8"
Ribbon (about 20 inches)
An Oval Cutting ToolSelf healing matCraft knifeAdhesive (I used sticky-strip and a runner)
Scallop Edge Punch

Step One:
Line up your 6 5/8" x 11" piece of cardstock vertical with your paper cutter and score at 2 5/8". Then turn your cardstock and score at 2 5/8", 5 1/4", 7 7/8" and 10 1/2".

Step Two:
Fold on all the scored lines. Cut off the smaller piece. If you remember from the introductory photo, I planned to use my Creative Memories cutters but in the end, I decided to use my nesties. Center whatever oval cutter you plan to use and cut.

Step Three:
I ran a overhead transparency through my printer and placed
Cupcakes and Candy Factory in the center. (Just a note, make certain that you're using the right kind of transparencies! I initially used ink jet transparencies in my laser printer. The result was a melted plastic sheet and an odd burning smell!)

Step Four:
Adhere the patterned paper and the acetate to the box. Use your adhesive to put the box together. Your box is done. All that's left is to make the top!

Step Five:
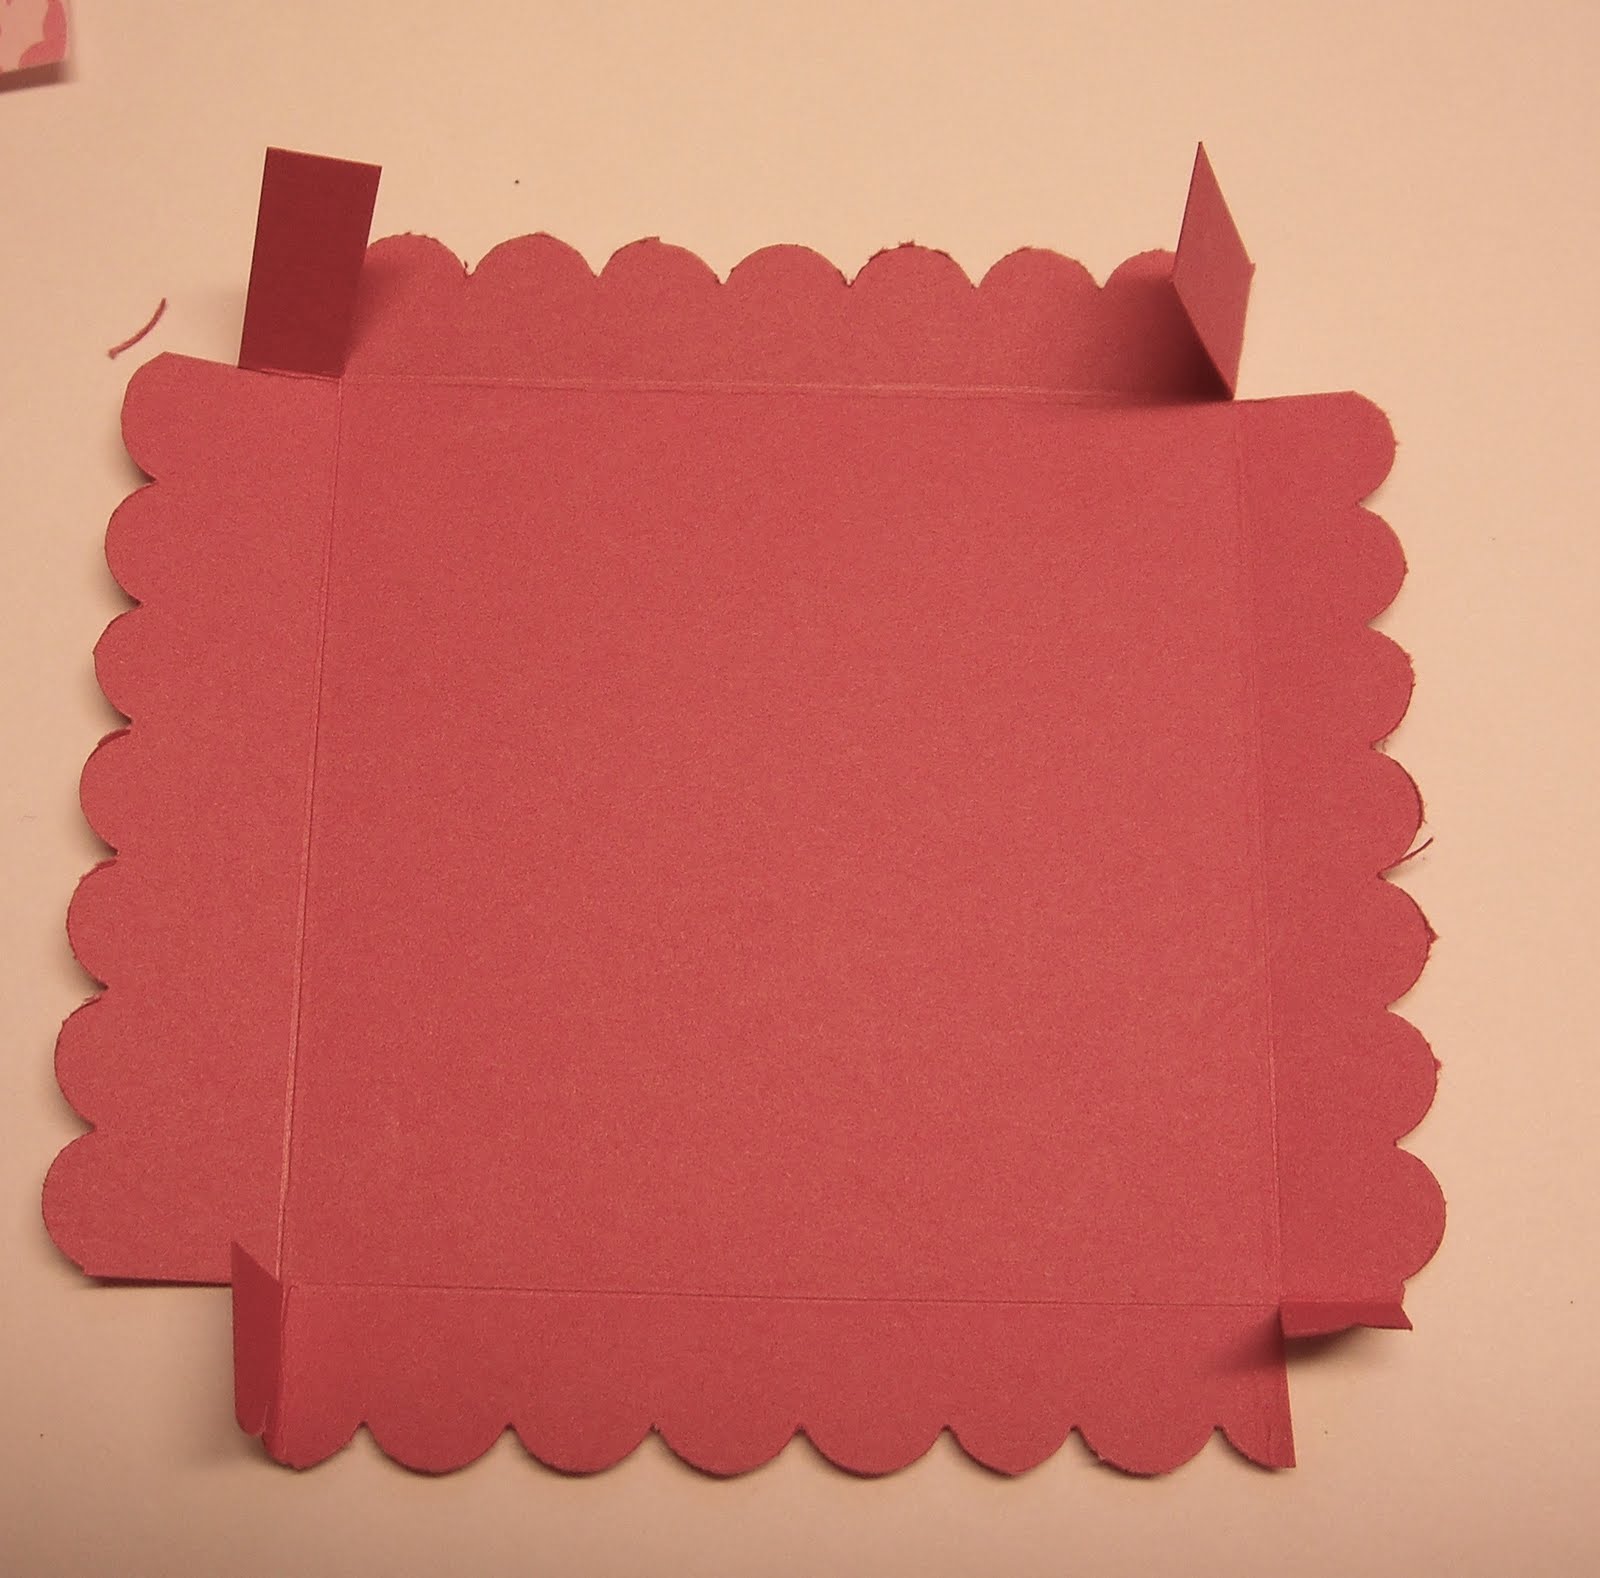
Score the 4 1/4" square piece of cardstock at 3 1/2" on all sides. Cut on the right score line on each side, creating flaps.