Showing posts with label Lisa Howell. Show all posts

Thursday, October 31, 2013

Thursday's Inspiration

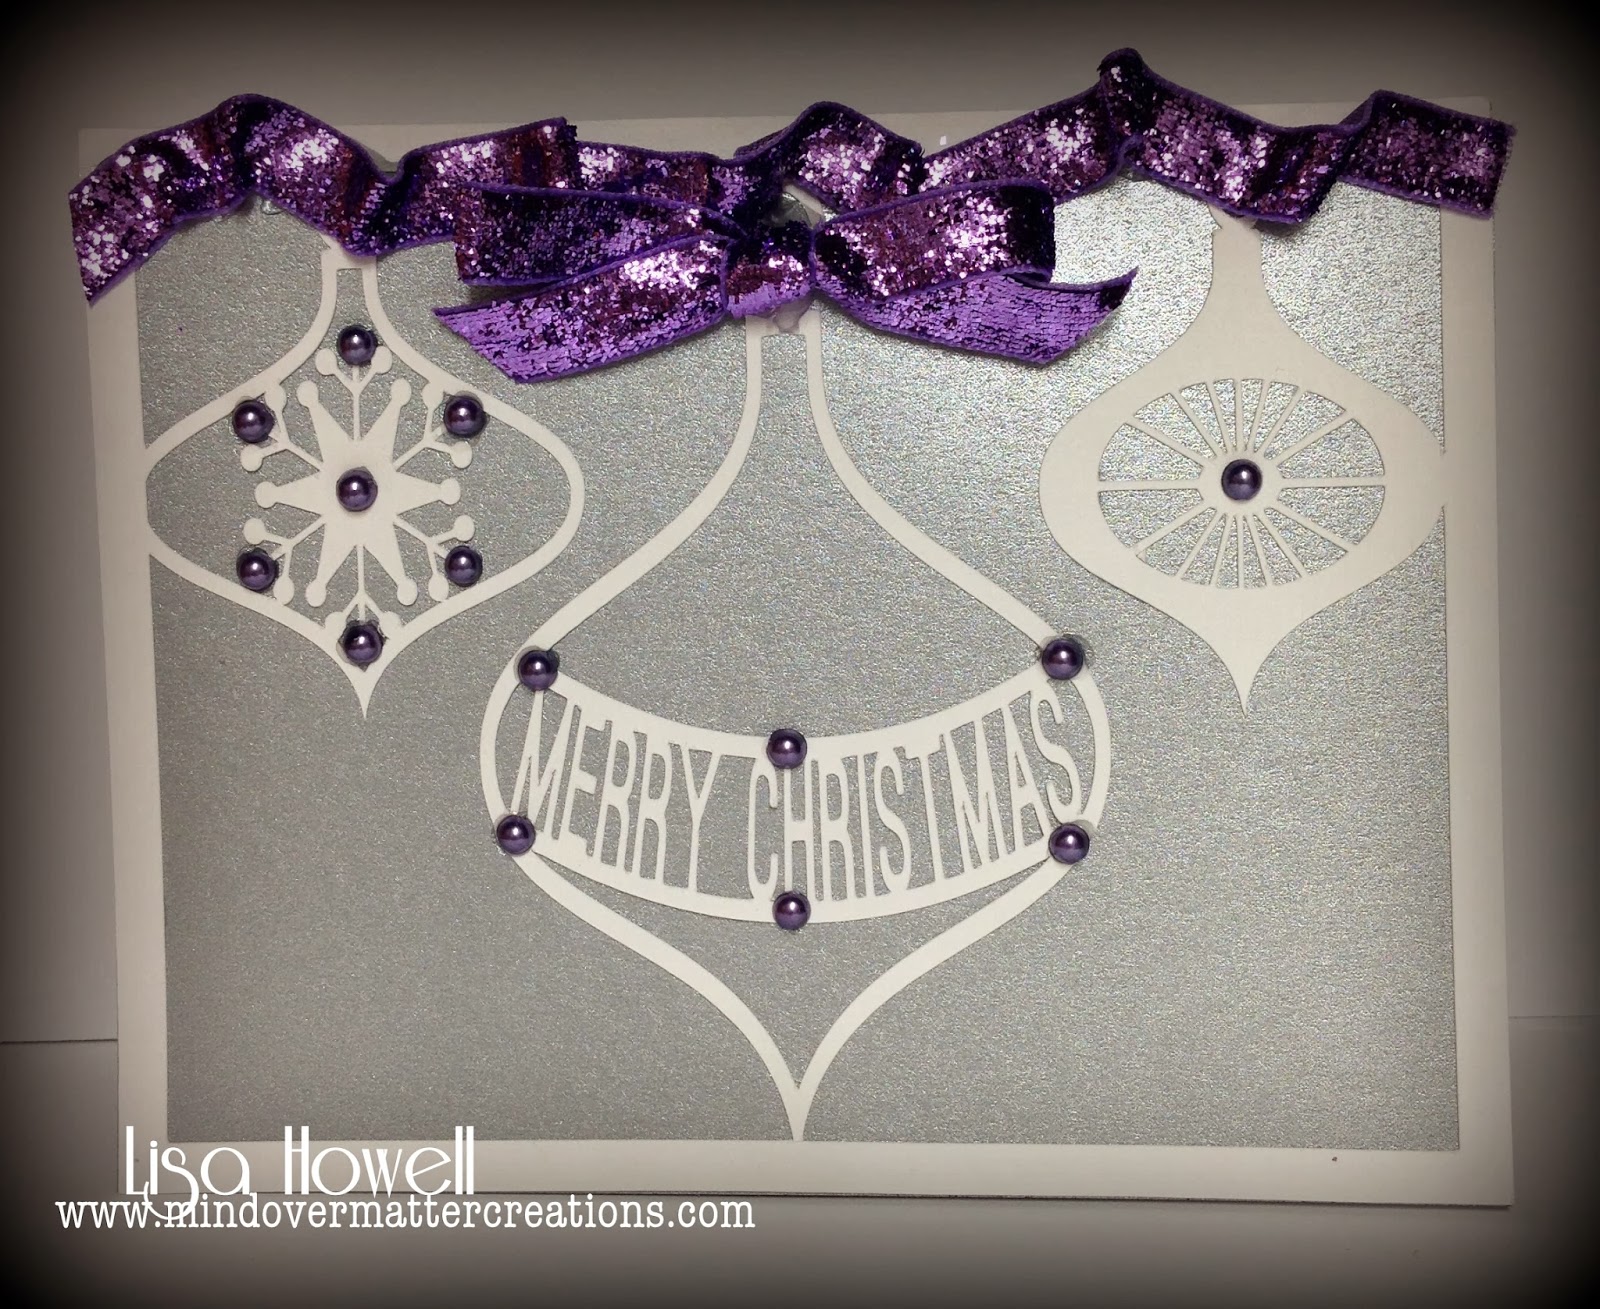
Hey all, Lisa here to bring you a little inspiration on this Halloween day.

Nope...not a Halloween project...LOL

Think colder...think Christmas!

I have designed a cut file that I made into a Christmas card and used the Eggplant - 4mm flat back pearls from the store


I hope this brings you a little inspiration.

This will be my last post for the Inky Impressions Inspiration Blog. I have enjoyed my time here and wish you all a blessed and creative life. See you in blog land.

Lisa

Thursday, October 24, 2013

Happy Halloween

Happy Thursday!


Lisa here with your Thursday Inky Inspiration.

I have used the Happy Halloween Pennant as my main focal point for this cute Halloween card.


Decorative papers are from the Me & My Big Ideas Mambi Sheets 6x6 paper pad and are layered onto black card stock from Recollections and the white cardstock base is from Georgia Pacific. The ribbon is from Hobby Lobby.

What do you think...cute, huh??

See ya next Thursday!

Lisa H

Thursday, October 17, 2013

October Birthday


Happy Thursday!


Lisa here with your Thursday Inky Inspiration.


I have a friend that is having a birthday in a couple of weeks, and I thought that Lili’s Pumpkin would be an excellent choice for an October Birthday.


For the card I used:

 Craft Cardstock – Recollections

Designer papers: My Mind’s Eye – The Sweetest Thing –Tangerine

Image stamped on Cryogen Cardstock with Memento Tuxedo Black Ink

Colored with Copics:

E 000, 00, 19, 47, 49, 50, 97, 99

YR00, 04, 07

RV000, 52, 55

R20

G43, 94, 99

B23, 63, 93

N 4, 6


I hope this has helped to spark your creativity on some small way. 

Until next Thursday... 
Lisa H

Thursday, October 10, 2013

Merry Kiss-Mas

Hey y'all!

It's Thursday, so that means it's my turn 
to bring you a little inspiration.

I have decided to use the adorable Merry Kiss-Mas.
Are these not just two of the cutest and sweetest penguins you've ever seen??


I decided that I wanted to make an easel card that would fold flat and be suitable for mailing, so I used a file from Bird's Cards and 
cut out this beautiful doily easel card on my Silver Bullet Professional cutter.
I then did a print & cut of the penguins and the sentiment as well with my cutter.
Since I wanted to be able to mail it in a regular envelope, 
I decided not to add very much dimension.
I did, however, use some glitter glue from Ranger to add a little sparkle. 

The Penguins were colored with my copics:
E 41, 70, 74
G 40, 43, 94, 99
B 12, 14, 18
R 05, 08, 17
Y 38
YR 00, 04
N 4, 6, 8
C 5, 7, 9, 10
Blender

I hope this has helped to spark your creativity in some small way. 
Until next Thursday...
Lisa H


Thursday, October 3, 2013

Marlee

Hi all, it's Lisa H. here with some Inky Inspiration...

Today I have used the rubber stamp Winter Fashion Marlee for my card. I needed a birthday card and I thought she would be fabulous for it.


Doesn't she make a really cute "birthday girl"?? I think so.

So that is my offering for today, hope I've inspired you to think of using your stamps in another way.

Until next Thursday,
Lisa H

Thursday, September 26, 2013

Best Wishes

Hi all! 
Lisa here...
it's Thursday again...
welcome to the Inky Impressions Inspirational Blog!

Today I want to share a gift card holder I made 
using the Wishing Well digi stamp from the store. 


Recipe:
Craft Cardstock - Recollections
Designer Paper - MME 6x6 Darling Dear
Copics & ProMarkers
Neenah Cardstock for Image
Mini Clothes Pin - Walmart
4mm Pewter Flat Back Pearls - Inky Impressions
Ranger - Glossy Accents
Stamp - Inkadinado Vintage Expressions
Ink - VersaFine Vintage Sepia

I hope this sparks some ideas for you.
We would love to see your creations...so please share!


See ya next Thursday...

Lisa

Thursday, September 19, 2013

A Charming Ghost


Hi all! Welcome to the Inky Inspirations Inspirational Blog. It’s Lisa here with another item to spark your creativity…


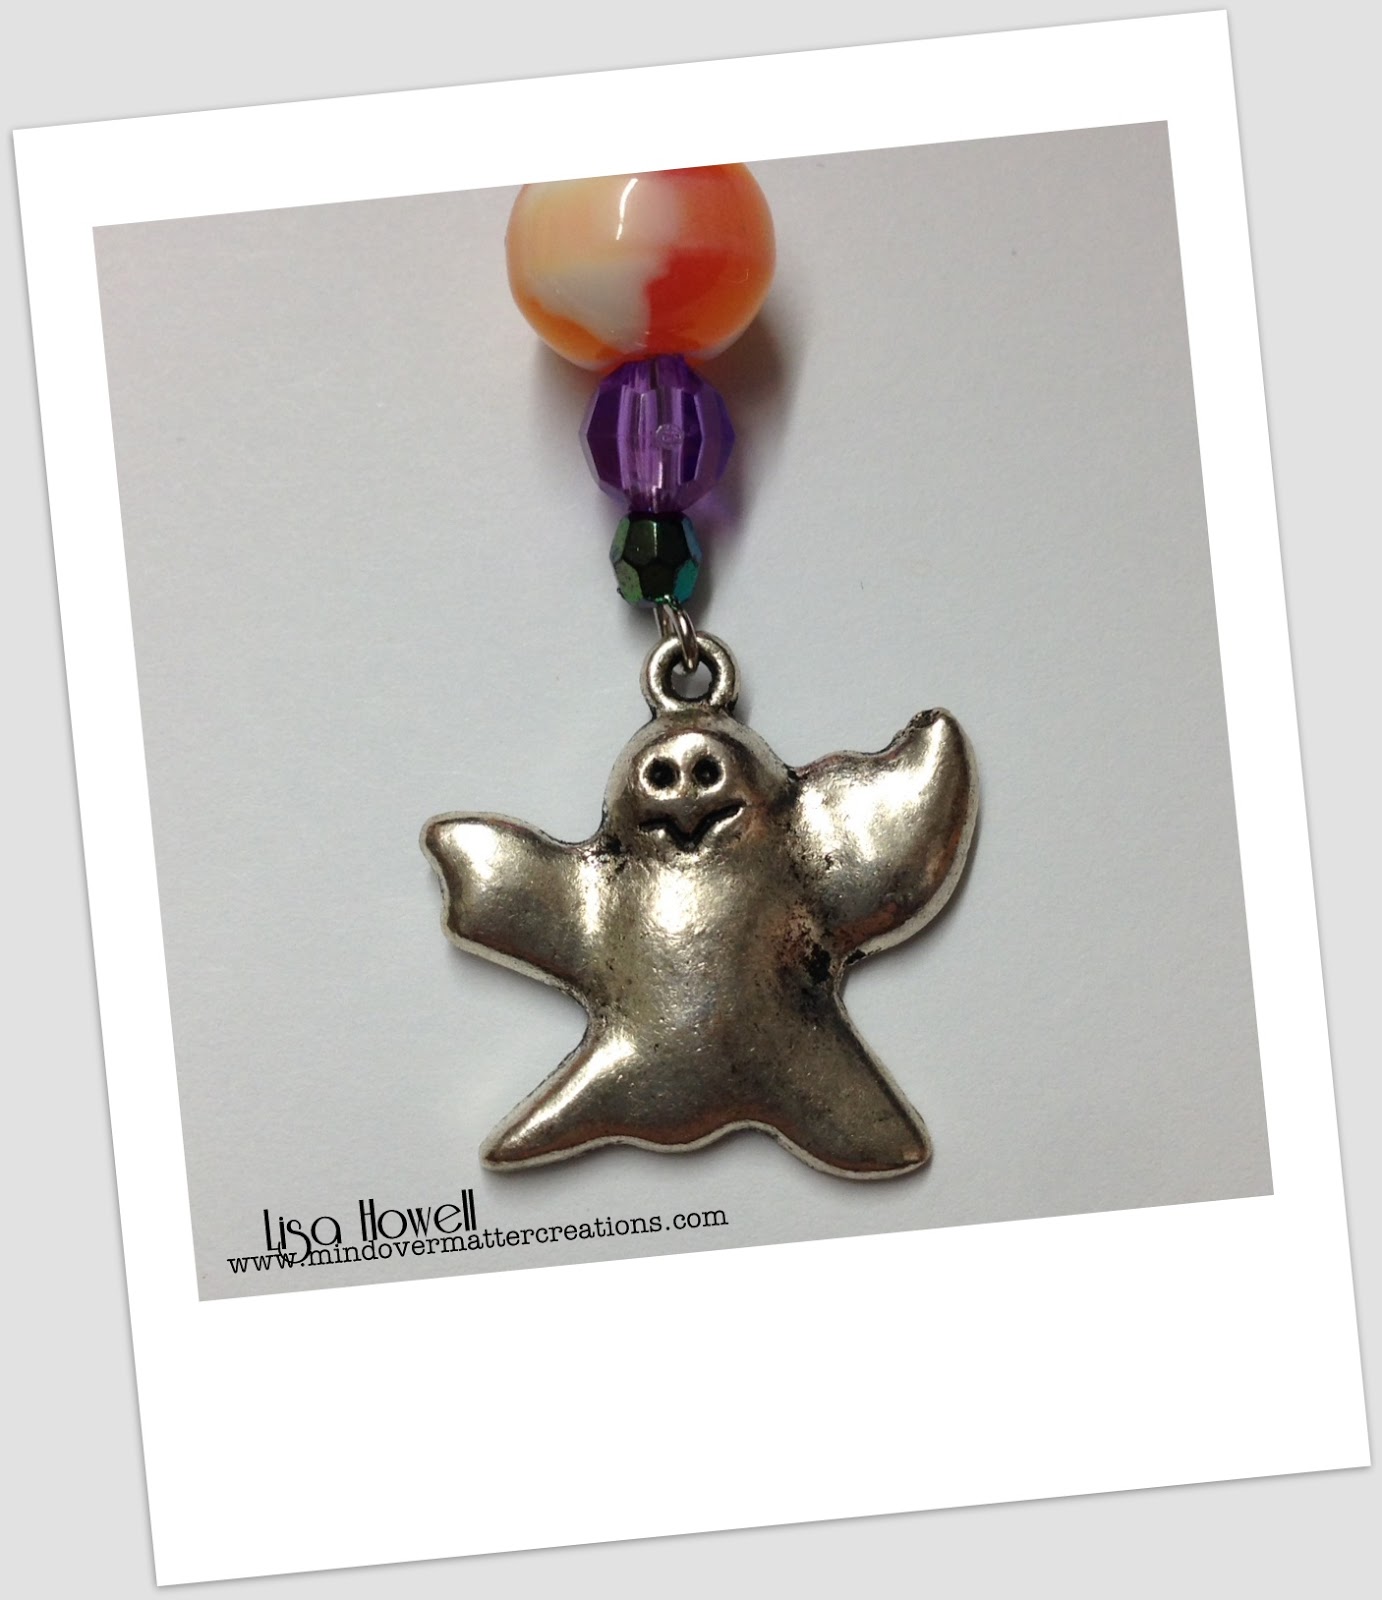
Ghostly Charms are not only for those beautiful Halloween card creations…how about sporting them on your ears?? I was going to use them to make a charm for an altered book or a mini, but thought how stinking cute they would be as earrings!


LOL So, there you are…I made earrings with the cutest little Ghost Charms from the store. Are they not just the most adorable little things?? 

Take a look at all of the great charms offered at Inky Impressions Rubber Stamps and make yourself a cute set of earrings to match the perfect holiday outfit…or possibly even a bracelet….or a necklace….give them as gifts! 

Thanks for stopping by today and I hope you have a great one! 
Until next Thursday...

Lisa

Thursday, September 12, 2013

It's Pumpkin Time


Hey everyone,
Welcome to the Inky Impressions Inspiration Blog! 

It’s Lisa here to bring you a card with the beautiful Lili’sPumpkin rubber stamp from Inky Impressions. She is such a wonderful little girl to color! And I just LOVE fall…the colors, smells and my oh my, the pumpkin pies…yum!


I stamped her onto Copic 70lb Marker Paper with Memento Tuxedo Black ink and colored her with my markers.

She was cut out using Spellbinders Classic Ovals Lg.


Recipe:

  • Lili’s Pumpkin Rubber Stamp, It’s Pumpkin Time Sentiment Rubber Stamp – Inky Impressions
  • Memento Tuxedo Black Ink
  • Copic 70lb Marker Paper
  • Kraft Cardstock
  • My Mind’s Eye Dolled Up, My Mind’s Eye Traveler
  • Spellbinders Classic Ovals (lg)
  • Copics – BV20, C1, C3, G21, G40, G43, Y11, YG11, YG67
  • ProMarkers – Almond,  Blush, Caramel, Cocoa,  Ivory, Mustard, Pastel Yellow, Primrose, Saffron, Sandstone, Vanilla, Warm grey 3
  • Spectrum Noir – GB5, OR1
  • Silk leaves from my stash
  • Baker’s Twine


Have a great day!

Lisa

Thursday, September 5, 2013

Witch's Broom


Hey everyone, I hope you are all having a great day! 

It’s Lisa here with a little Inky Impressions Inspiration for you.

Well, today is my very first posting day on Inky Impressions Inspiration Blog…sooo excited to be a part of this team!

I wanted to share an idea for all of those little ghosts and goblins out there.  I got the idea of my broom covered lollipop from Splitcoast Stampers. You can find their tutorial here.  I used a Dum-Dum Sucker for my broom and the cut sizes SCS has works perfectly.


 I gathered my supplies:
  •  Inky Impressions Digi Stamp Happy Halloween Pennant or any Halloween or Fall image from Inky Impressions
  •  Ink for inking the paper - I used Tim Holtz Distress ink in black soot, vintage photo & walnut stain
  •  Sucker of choice (round works best) If you are using a bigger sucker, measure to make sure it will cover and adjust accordingly. 
  •  Brown/Craft Cardstock – I used Recollections brand
  •  Markers of choice – I used Copics YG23 &C1
  •  Twine for “tying” the broom on – I used Doodle Twine Bon Bon 
  •  Glue or tape
  •   Any extra bling you wish to use


Using the instructions from Splitcoast Stampers, assemble your broom.
Here are the pics of mine in the process:


This would be a really great idea for Trick-or-Treat night, a Fall Harvest / Halloween gift for the class or a teacher or even a co-worker. Give it a try, they work up really quick and are just so stinking cute!

I hope I have given you a little inspiration today.

Thanks for stopping by,
Lisa Howell
For Inky Impressions Inspirational Blog